Python programming multi-platform TI-84 / desktop

Python – How to compare directories project

In this project I’ll show you how to compare directories, save the result, and process the result: all combined in one attractive GUI.

The first thing we’ll do: we have to find the right tools/methods in Python:
so I’ve googled on “python compare directories” and found this one on the official documentation:

https://docs.python.org/3/library/filecmp.html

Now let’s start! First we’ll create the project:

Create “CompareDirectories” Project
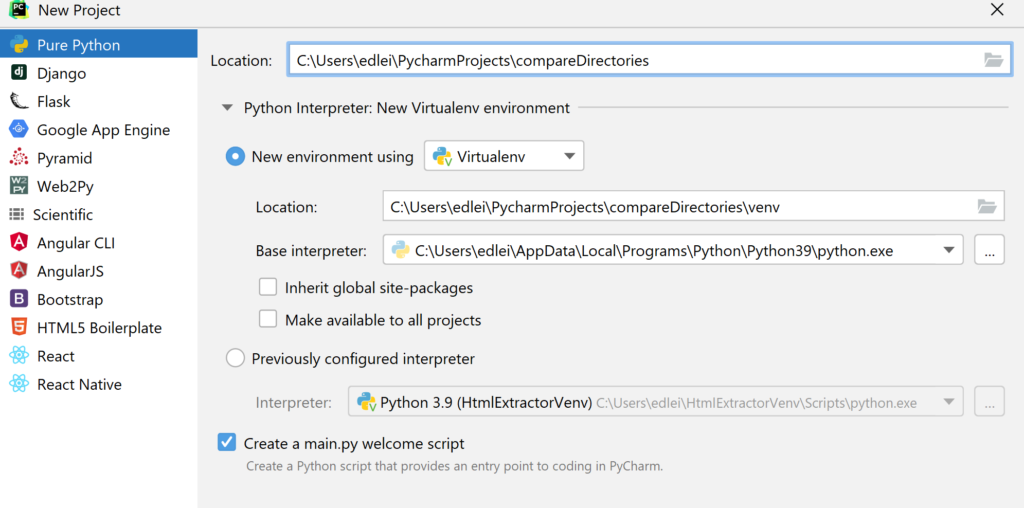
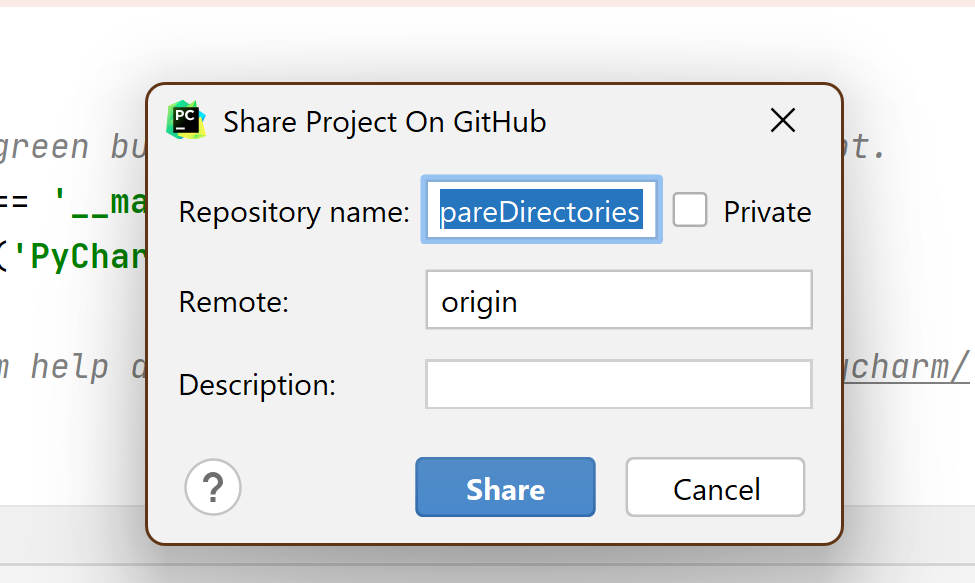
Share project on Github (optional, recommended)
Initial commit
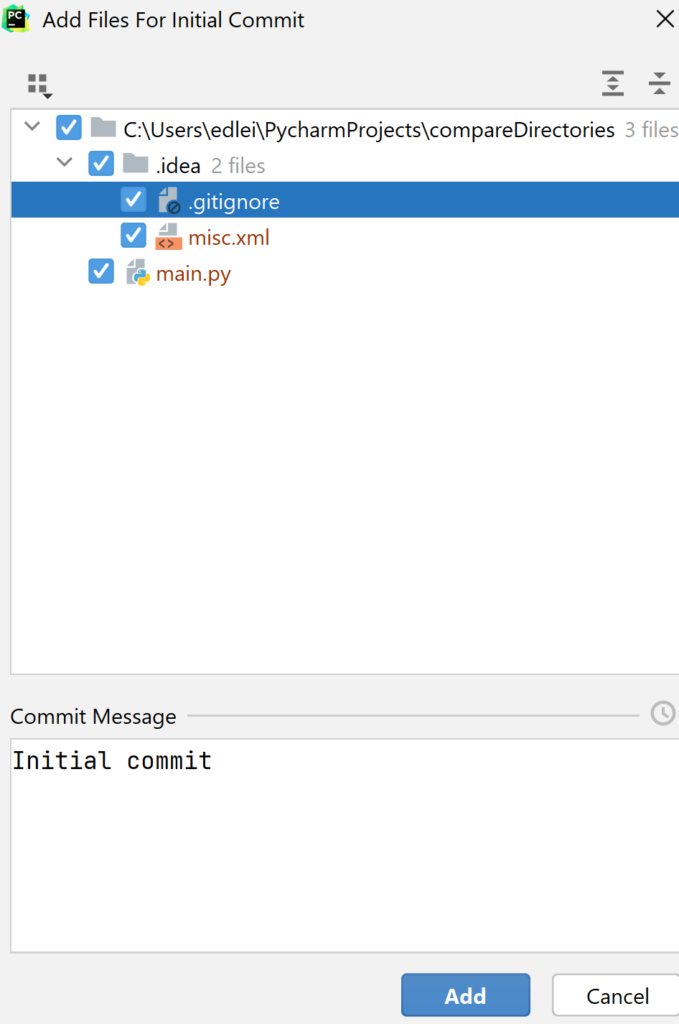
Now we have an initial, almost empty “compareDirectories” project on Github. It will serve us as a backup as well.

We will open the project directly on Github now and we’ll add a readme to it:
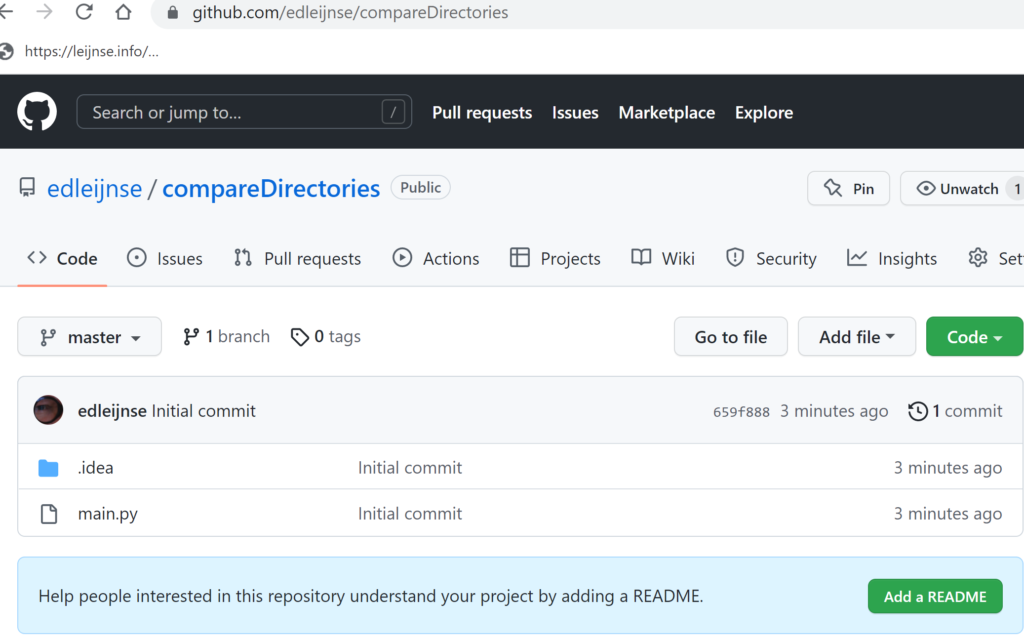
Now we’re done and we can update our project in Pycharm (with pull).
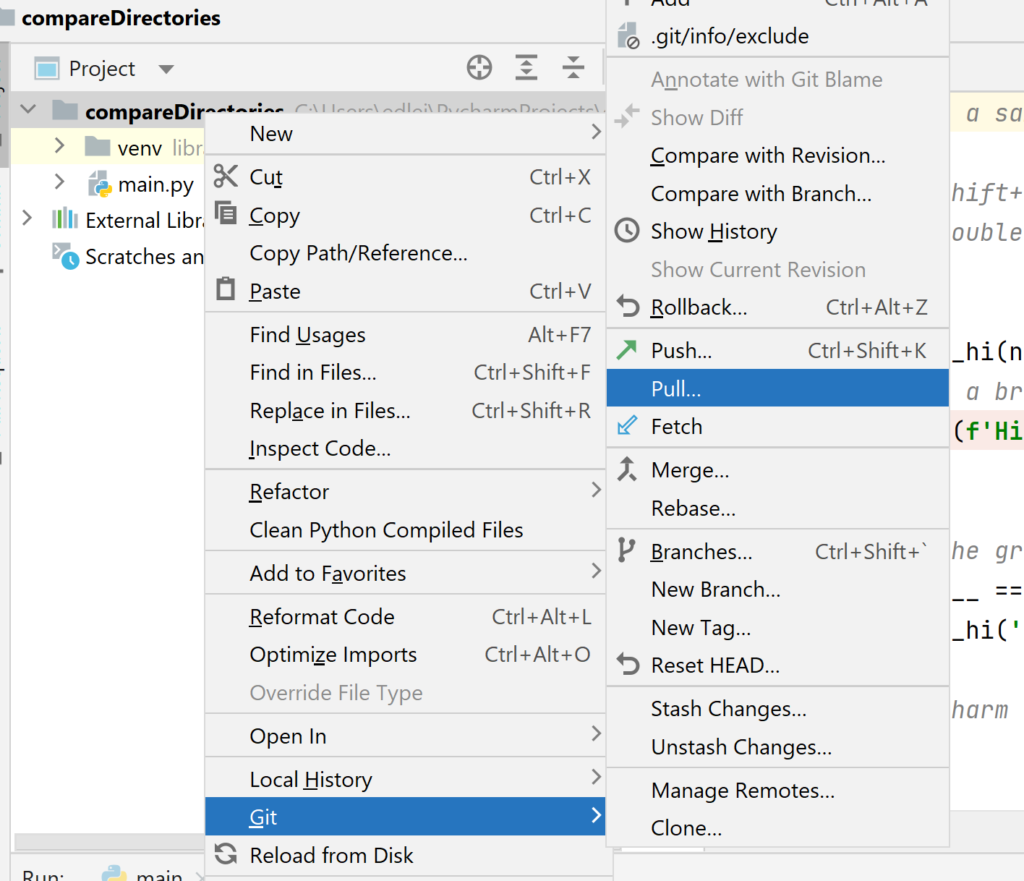
Now it’s time to really start!
We will start with a “first try” copied from
https://docs.python.org/3/library/filecmp.html

from filecmp import dircmp
def print_diff_files(dcmp):
    for name in dcmp.diff_files:
        print("diff_file %s found in %s and %s" % (name, dcmp.left,
              dcmp.right))
    for sub_dcmp in dcmp.subdirs.values():
        print_diff_files(sub_dcmp)

dcmp = dircmp('dir1', 'dir2') 
print_diff_files(dcmp) 

I’ve changed the code like this:


def print_diff_files(dcmp):
common_files = sorted(dcmp.common_files)
for name in common_files:
print("common_file %s found in %s and %s" % (name, dcmp.left,
dcmp.right))
left_only_files = sorted(dcmp.left_only)
for name in left_only_files:
print("left_only_file %s found in %s" % (name, dcmp.left))
right_only_files = sorted(dcmp.right_only)
for name in right_only_files:
print("right_only_file %s found in %s " % (name, dcmp.left))
for sub_dcmp in dcmp.subdirs.values():
print_diff_files(sub_dcmp)

What is really amazing to me is the sheer amount of information you’ll get from this compare method: try to experiment with it in debug mode and you’ll see what I mean.

Start with the GUI first

We’ll build a very simple GUI to choose both directories. Afterward we’ll add an action to it.
As a base project we will use this one:
https://github.com/edleijnse/pythonGui

You’ll find the gui part in TaggerBizControlCentre.py

Now I’ve made a first button “compare from”:
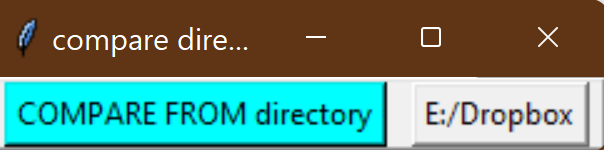
self.btn_compare_from_dir = tk.Button(self.fr_buttons, text="COMPARE FROM directory",
command=compareFromClicked, highlightbackground="cyan", bg="cyan")

While defining the button you can add a command to it, in this case: “compareFromClicked”.
In the command you can define what happens after you clicked the button.

def compareFromClicked():
print("compare from clicked")
mydir = open_directory(self.filearray[0], "directory to compare from")
btn_compare_from_dir_txt_var.set(mydir)
self.filearray[0]=mydir

The programmed action is like this: the program will ask you where to find the directory and store the value in 2 variabels: the first “btn_compare_from_dir_txt_var” is displayed as a label field right from the button. the second “self.filearray” is used to save the chosen directory.

In the same style I’ve added a “compare_to” button.
And I’ve added 2 methods for saving and reading the data in a file called

compareDirectoriesconfig.txt

So, now we have some basics to start.
PHP – Hyperlinks – Course

In this course we will build a database to store your hyperlinks.
Before we start, you can have an idea:
Hyperlinks search – TAGGER.biz

What you’ll learn in the first course

  • How to design a program that runs on many devices (cellphone/tablet/Mac/PC)
  • How to make a database design
    relational database, how to work with indices, autoincrement
  • Steps to design a robust program
  • Programming of webservices (restful webservices with JSON)
  • Programming of PHP client (a GUI graphical user interface)

Next steps

  • Programming of Kotlin client with TornadoFX as an example how to separate server from client logic
  • Programming of Kotlin Compose Client for android and iphone

Windows 11 – Bluetooth devices in power mode

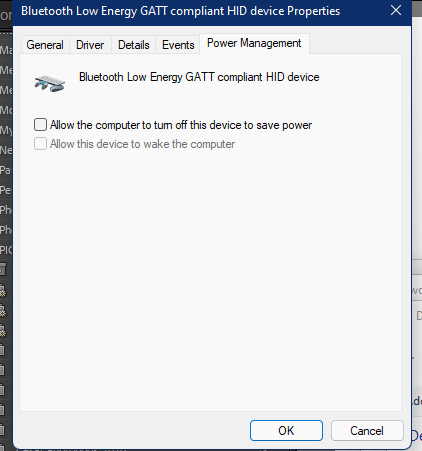
If you have any problems with your Bluetooth Keyboard or mouse: try to change the behavior in power mode:

Go to Control Panel / Hardware and Sound / Devices and Printers
Go to Your Keyboard

I’ve found some hints here, but they’re only partially useful:
https://answers.microsoft.com/en-us/windows/forum/all/windows-10-bluetooth-always-on/2aa8b7a5-ffb9-4637-9352-00388a1f73fb

Python – reading Outlook mails

Github

Project https://github.com/edleijnse/mailReader

In this project you’ll find a sample how to read items from Outlook, select some of them and save attachments to a directory. The filenames of the attachments are changed: there will be a receivement date added as a prefix to the filename

import win32com.client
import os
from datetime import datetime, timedelta

# Press Shift+F10 to execute it or replace it with your code.
# Press Double Shift to search everywhere for classes, files, tool windows, actions, and settings.


def extract_attachments(mailbox, restrictMessage, outputDir):
    # Use a breakpoint in the code line below to debug your script.
    print(f'Mailbox: {mailbox}')  # Press Ctrl+F8 to toggle the breakpoint.
    outlook = win32com.client.Dispatch('outlook.application')
    mapi = outlook.GetNamespace("MAPI")

    for root in mapi.Folders:
        try:
          if (mailbox in root.FolderPath):
             print ("FolderPath: " + root.FolderPath)
             for folder in root.Folders:
                 print("folder: " + folder.FolderPath)
                 messages = folder.Items
                 restrictedMessages = messages.Restrict(restrictMessage)
                 for message in list(restrictedMessages):
                    received = str(message.ReceivedTime)
                    print (message.SenderEmailAddress)
                    print (received[0:10])
                    receivedString = received[0:10] + "_"
                    for attachment in message.Attachments:
                       attachment.SaveASFile(os.path.join(outputDir, receivedString + attachment.FileName))
                       print(f"attachment {receivedString +  attachment.FileName}  saved")

        except:
            print("exception")

# Press the green button in the gutter to run the script.
if __name__ == '__main__':
    outputDir = r"f:\swissedu_attachments"
    extract_attachments('ed@leijnse.info', "[SenderEmailAddress] = 'helena.dimi@windowslive.com'", outputDir)

# See PyCharm help at https://www.jetbrains.com/help/pycharm/

Python – read Word documents

Project: https://github.com/edleijnse/wordDocumentReader

In this Python script you’ll find a sample how to traverse a directory with subdirectories, select Word document, extract the texts and make a new document file. At the end 2 summaries will be added: one with all the words and frequencies and another with the frequencies and words.

Sample “frequency / word”

37 we
38 about
38 from
38 this
39 B
39 C
39 D
39 YOUR
39 make
39 very
40 been
40 do
41 use
43 can
43 so
49 He
49 an
50 money

# This is a sample Python script.
from docx2python import docx2python
from collections import Counter

import os
import pandas as pd

# Press Shift+F10 to execute it or replace it with your code.
# Press Double Shift to search everywhere for classes, files, tool windows, actions, and settings.

def extract_words(filename, outputFile):
    print("---------------------------------------------------------------------------")
    outputFile.write("\n------------------------------------------------------------------------------------------------\n")
    print(filename)
    outputFile.write(filename+"\n")
    print("---------------------------------------------------------------------------")
    outputFile.write("------------------------------------------------------------------------------------------------\n")
    doc_result = docx2python(filename).text
    print(doc_result)
    outputFile.writelines(doc_result)


    # extract words in a table
    res = doc_result.split()
    return res
def print_tallied(sorted_tallied, outputFile, title):
    #print(sorted_tallied)
    outputFile.write(
        "\n----------------------------------------------------------------------------------------------\n")
    outputFile.write(title)
    outputFile.write(
        "\n----------------------------------------------------------------------------------------------\n")
    ii = 0
    for item in sorted_tallied:
        if (item[1]>0):
           if (item[0].isalpha()):
              print(str(item[0]) + ":" + str(item[1]))
              outputFile.write(str(item[0]) + ":" + str(item[1]) + "\n")
              ii = ii + 1
    print("total: " + str(ii))

    outputFile.write("total: " + str(ii))

def sort_panda(tallied, outputFile):
    outputFile.write(
        "\n----------------------------------------------------------------------------------------------\n")
    outputFile.write("summary words by frequency")
    outputFile.write(
        "\n----------------------------------------------------------------------------------------------\n")

    ii = 0
    wordTab = []
    countTab = []

    for item in tallied:
        if (item[1] > 0):
            if (item[0].isalpha()):
                wordTab.append(item[0])
                countTab.append(item[1])
                print(str(item[0]) + ":" + str(item[1]))
                ii = ii + 1
    data = {'Count': countTab, 'Word': wordTab}
    df = pd.DataFrame(data, columns=['Count', 'Word'])
    df.sort_values(by=['Count','Word'], inplace=True)
    for oneValue in df.values:
        print(str(oneValue[0]) + " " + oneValue[1])
        outputFile.write(str(oneValue[0]) + " " + oneValue[1] + "\n")

def word_document_reader(inputDir, outputFile):
    # Use a breakpoint in the code line below to debug your script.
    print(f'Hi, {inputDir}')  # Press Ctrl+F8 to toggle the breakpoint.
    import os

    total_res = []
    for path, currentDirectory, files in os.walk(inputDir):
        for file in files:
            filename = os.path.join(path, file)
            if ("doc" in filename):
                total_res = total_res + extract_words(filename, outputFile)
    tallied = Counter(total_res)
    sorted_tallied = sorted(tallied.items())
    print_tallied(sorted_tallied, outputFile, "summary of words")
    sort_panda(tallied.items(),outputFile)

# Press the green button in the gutter to run the script.
if __name__ == '__main__':
    inputDir = r"f:\swissedu_attachments"
    outputFile = open(r"f:\swissedu.txt", "w", encoding="utf-8")


    word_document_reader(inputDir, outputFile)

    outputFile.close()

# See PyCharm help at https://www.jetbrains.com/help/pycharm/

WordPress – Webshop with Ninja Forms and NF Views

If you want to have a flexible Webshop where the shop owner can add easily products / payments: then read this post!

I’ll explain two different kind of solutions. The first solution uses Ninja Forms and NF Views, the second solution uses Envira Galleries and Stripe.

Some background information

I was looking for a possibility to use the integrated WordPress database as a data store and I came up with the following idea. I use Ninja Forms as a form builder. Ninja Forms stores all the submitted data in the WordPress database and you can view it in “submissions”: quite comfortable for a start.
But: I wanted more! I thought: wouldn’t it be possible to use this “submission” data store and build on top of it: first, some data views, later maybe reports as well.
I was looking for plugins that could possible help me to solve this problem, and then I found “nf views”, https://nfviews.com/ It’s a very nice solution, the drawback could be the price (if you want to have the complete solution with the possibilty to edit the data as well, it will cost you around 200 USD on a yearly base) But: it saves you a lot of time, so, finally I leased this plugin and so far I’m very happy with the plugin. You always have to consider, even as a private programmer, what is cheaper in the end: make or buy. Buying can save you a lot of headaches. And, if you work with WordPress and plugins: you are the owner/data provider: it comes with responsability but also with freedom: you are not dependent on Cloud providers like Microsoft or Amazon. And, if you have a reliable provider like I do (Webland in Switzerland), it makes a lot of fun to build solutions with WordPress.

Webshop with configurable products

In this solution the webowner can easily add or modify products.
You need to be an admin to configure the products.

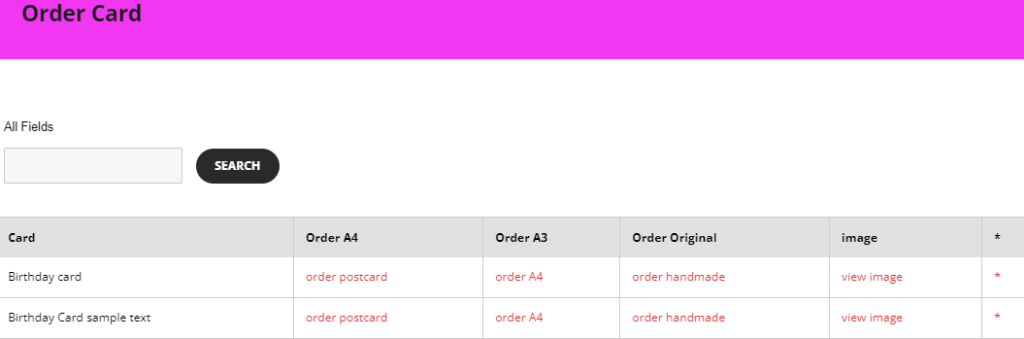
Products overview
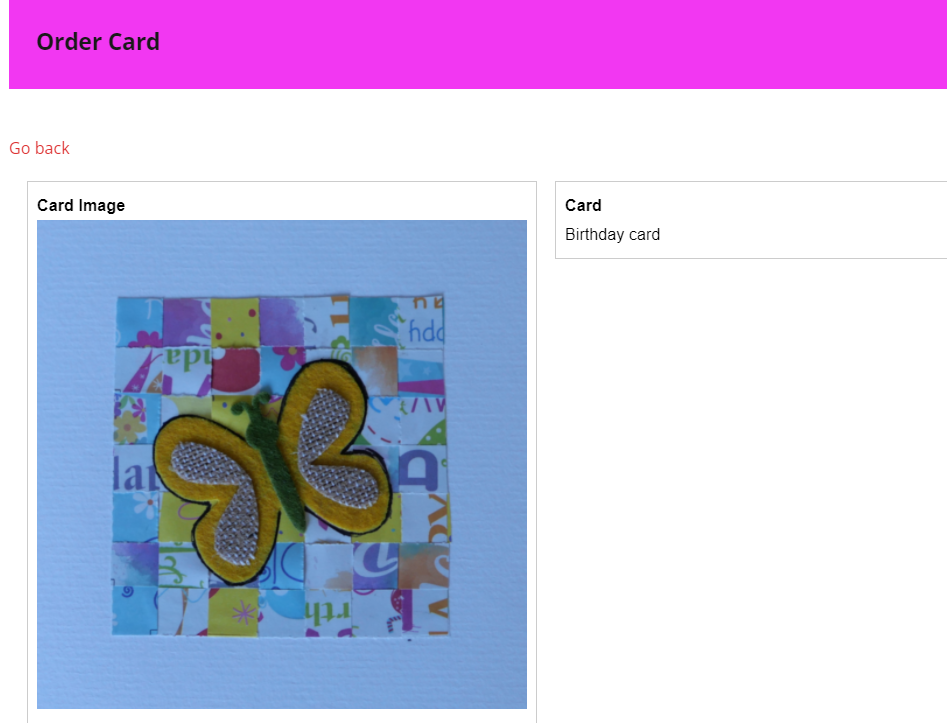
product image
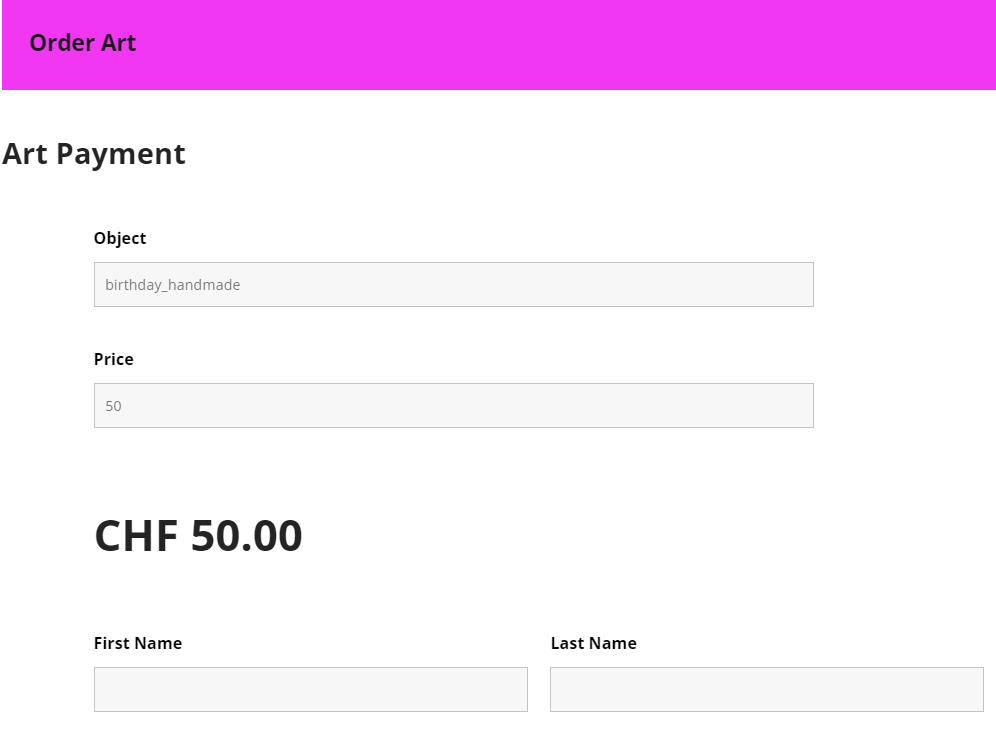
payment with Stripe (VISA / Paypall)

Windowing Techniques for Windows

https://uk.pcmag.com/migrated-3765-windows-10/87827/how-to-organize-your-desktop-with-windows-10-snap-assist

The most simple way to move windows to the right or left side (or middle):
Windows-Key + Arrow-Key (Left, Right, Up, Down)

If you want to switch the desktop:
Windows-Key + CTL + Arrow-Key

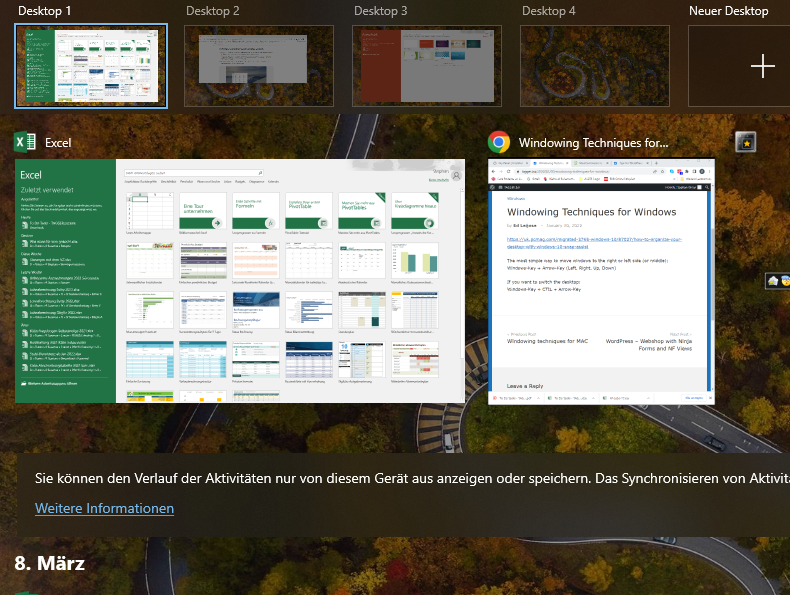
It’s also possible to switch desktop while using the task liste, e.g.:


Windowing techniques for MAC

https://support.apple.com/et-ee/guide/mac-help/mchlp2469/mac

Copied form Apple support above:

Move a window to one side of the screen: Press and hold the Option key while you move the pointer over the green button 

 in the top-left corner of the window, then choose Move Window to Left Side of Screen or Move Window to Right Side of Screen from the menu that appears. The window fills that half of the screen; the menu bar and Dock remain visible.

Remote Access from Mac to Windows

If you want to access your Windows PC (or Laptop) you can use software from Microsoft (Microsoft remote access). Here are the steps how you can do that.

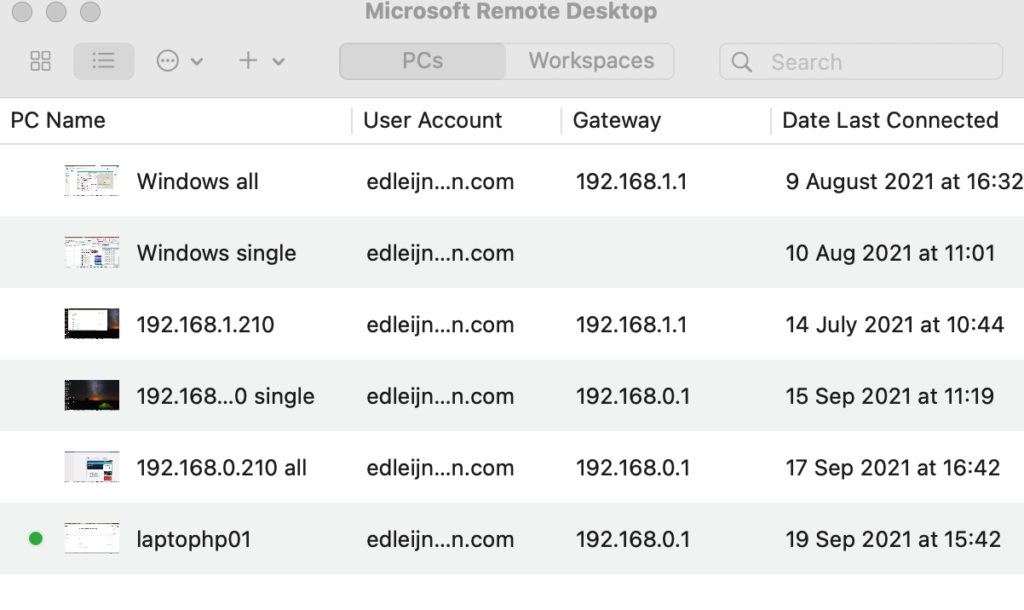
On the MAC: got to your Appstore, search for “Microsoft remote desktop” and install it (it’s free)

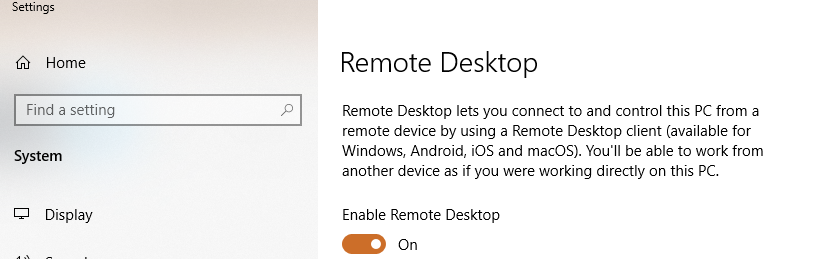
On your Windows system: got to Settings and “enable remote Desktop”

After enabling you can add your Windows system to Microsoft Remote Desktop on your Mac. It’s even possible to work with 2 Monitors. It is very fast!

Remote Access from Windows to Mac and vice versa

The easiest way to realize a remote access from your Windows PC (or even a Tablet) to your Mac offers Parallels.com: https://www.parallels.com/products/access/

It is an affordable solution: $19 a year. If you already subscribed Parallels on your Mac, you’ll get this in your package (Parallels, Parallel Tools, Parallel access)

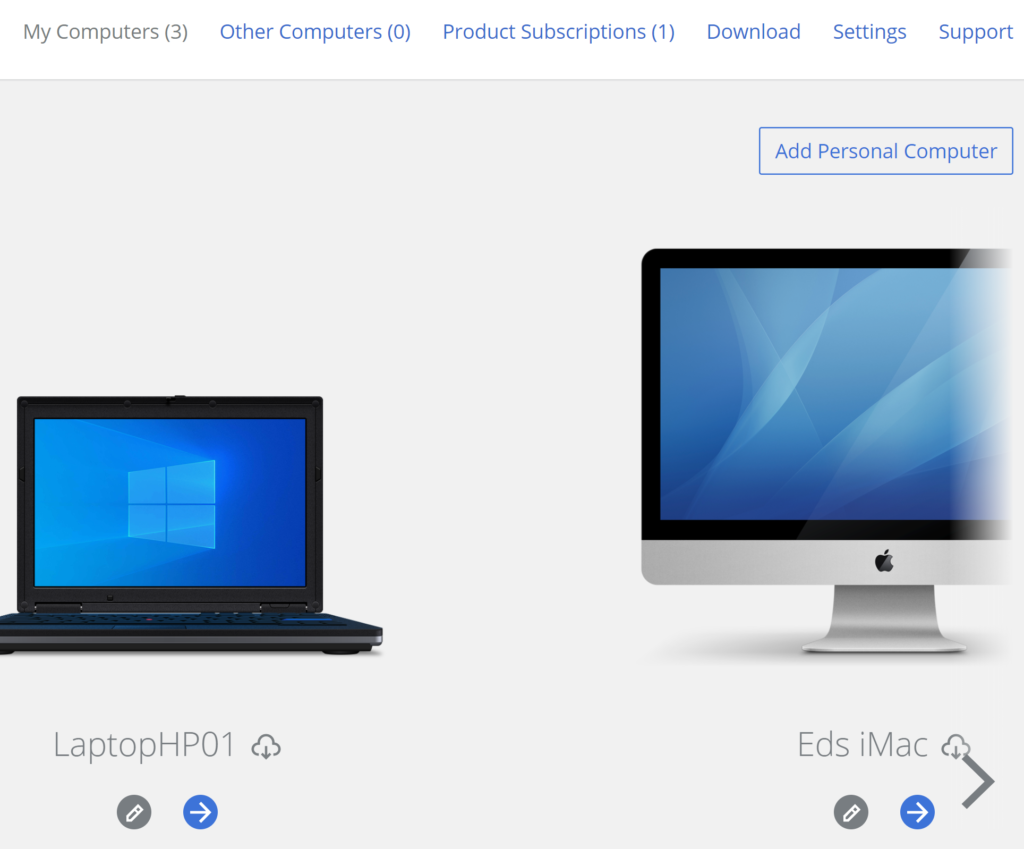
It works like this: you’ll have to install additional software on your Mac to make this happen.
If you want to access your Windows PC from your Mac: there’s also additional software for Windows.

It works with your Parallels account: so it should also work when you’re not at home (I’ve not tested this option)

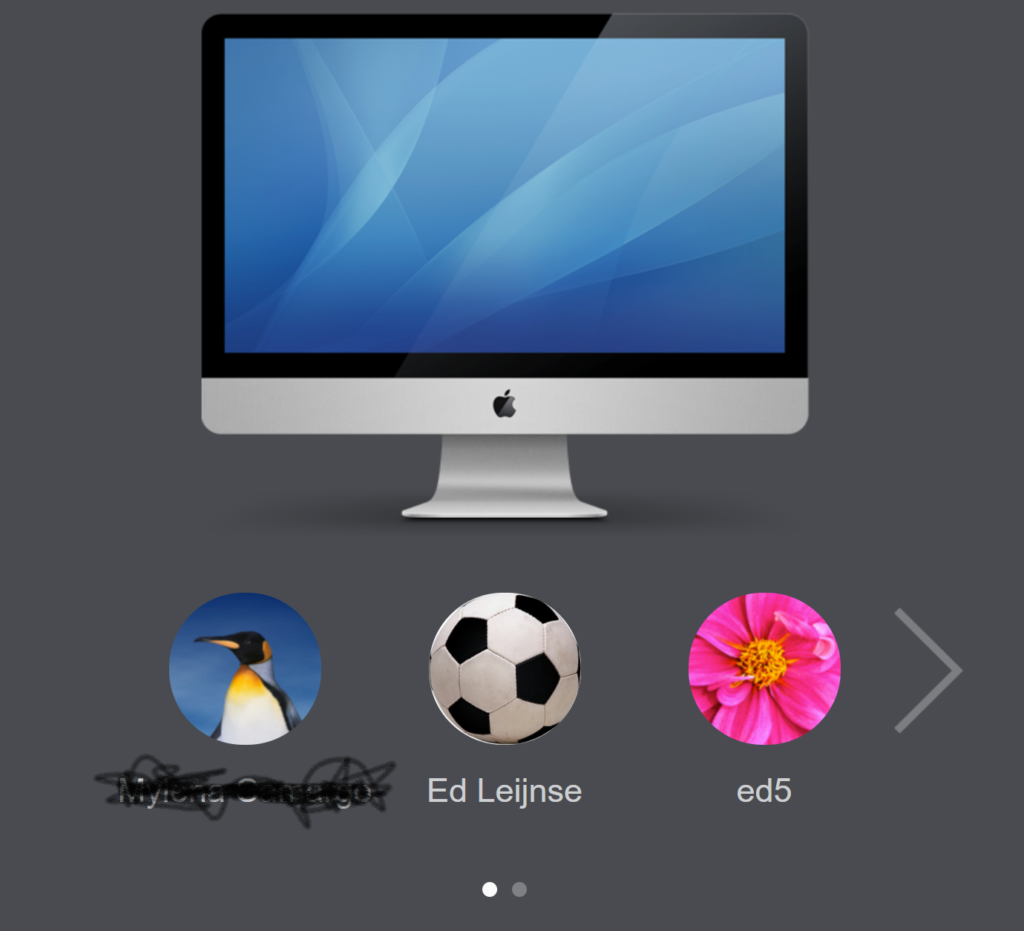
After logging in with your parallels account, you can simply start the connection

After you’re logged in you can use your Mac on your Windows PC

It’s even possible to work in full screen mode.